The Windows Death command – How to kill a windows PC [Revisited]

So about 7 years ago I wrote the original blog post on killing a windows PC.
Turns out it was one of my most popular posts! So with that in mind, lets update that script to use Powershell – seeing as it is 2023 now.

The core basics of the command have not changed much, just the delivery method.
Below is the new Windows Death command:
TakeOwn /F C:\windows /R /D Y
Remove-Item -Recurse -Force C:\windows

Simply run the above in an elevated powershell window to wipe the PC.
It really is that simple.

Now how do we make this into a file that we can just right click and run?
Copy and paste the below into a file, and name it PCKiller.PS1 or similar- then right click and ‘Run with Powershell’ Simple as that:
# Check if script is running as administrator
if (-NOT ([Security.Principal.WindowsPrincipal][Security.Principal.WindowsIdentity]::GetCurrent()).IsInRole([Security.Principal.WindowsBuiltInRole] "Administrator"))
{
# If not running as administrator, elevate permissions
$arguments = "& '" + $myinvocation.mycommand.definition + "'"
Start-Process powershell -Verb runAs -ArgumentList $arguments
Break
}

# Set window title and colors
$host.UI.RawUI.WindowTitle = "Destroy Windows PC"
$host.UI.RawUI.WindowPosition = "maximized"
$host.UI.RawUI.BackGroundColor = "green"
$host.UI.RawUI.ForeGroundColor = "white"
Clear-Host

# Take ownership of the Windows folder
TakeOwn /F C:\windows /R /D Y

# Get the total number of files and directories to be deleted
$total = (Get-ChildItem -Recurse C:\windows | Measure-Object).Count
$current = 0

# Delete the files and directories
Get-ChildItem -Recurse C:\windows | Remove-Item -Force -Recurse -Verbose -ErrorAction SilentlyContinue | ForEach-Object {
$current++
Write-Progress -Activity "Deleting files" -Status "Progress: $current/$total" -PercentComplete (($current/$total)*100)
}

This script first takes ownership of the Windows folder using the TakeOwn command, just like in the previous version. It then uses the Get-ChildItem command to get a list of all files and directories in the Windows folder and its subfolders. The Measure-Object command is used to count the total number of items, and this count is stored in the $total variable.

Next, the script uses a ForEach-Object loop to iterate over each item in the list and delete it using the Remove-Item command. The -Verbose parameter displays a message for each item that is deleted, and the -ErrorAction SilentlyContinue parameter tells the script to continue running even if an error occurs (such as if a file is in use). The Write-Progress command is used to display a status bar showing the progress of the deletion.

Or if you still like using command prompt, the original an still the best as previously posted will still work:
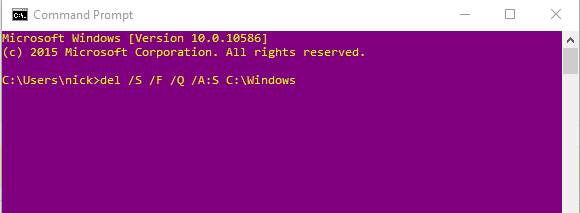
del /S /F /Q /A:S C:\windows

Stress Testing HDD

There are certain times that you will want to stress test a HDD or just get some info out of it for performance tuning.

Step in: Diskspd.exe


A microsoft developed standalone disk testing tool.
https://github.com/Microsoft/diskspd

Sample command can be found here:
https://github.com/Microsoft/diskspd/wiki/Sample-command-lines

Install multiple programs with Chocolatey

Ever had the need to install multiple programs on a new or existing PC?

We have all been there; a brand new PC out the box, a relative who needs some software installed, a re-install of windows on your own PC.
So how do we go about collating all our software, is there a nice quick way to re-install everything and get us up to date quickly. Well today we are going to go over the basics of how to install multiple programs using Chocolatey.

What is Chocolatey?

From its own site:

Chocolatey is a package manager for Windows (like apt-get or yum but for Windows). It was designed to be a decentralized framework for quickly installing applications and tools that you need.

How can I install chocolatey?

Very easily. Chocolatey is built for windows and use through Powershell, so as long as you have been updating windows, you should be able to install it seamlessly.
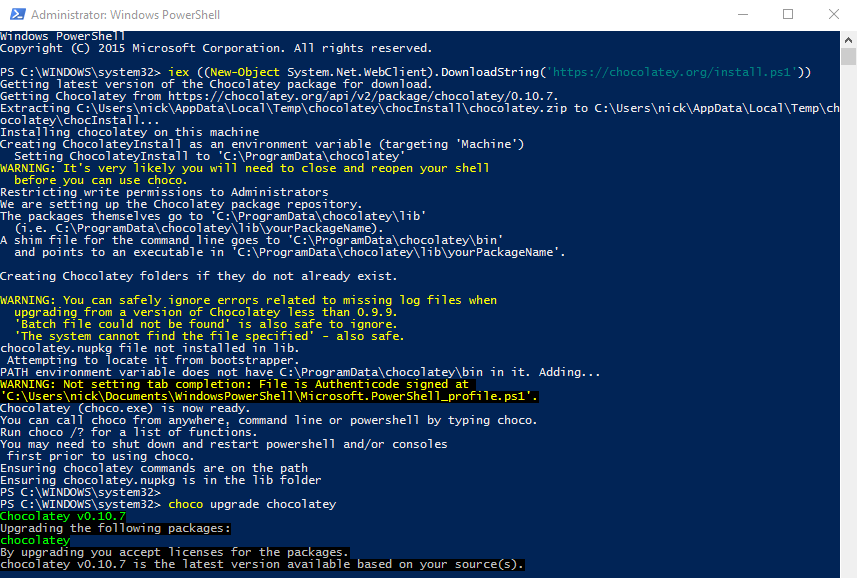
Either head over to the chocolatey install page, or use my favorite method of install – using Powershell itself:

iex ((New-Object System.Net.WebClient).DownloadString('https://chocolatey.org/install.ps1'))

install multiple programs with chocolatey

How to create a multiple install script:

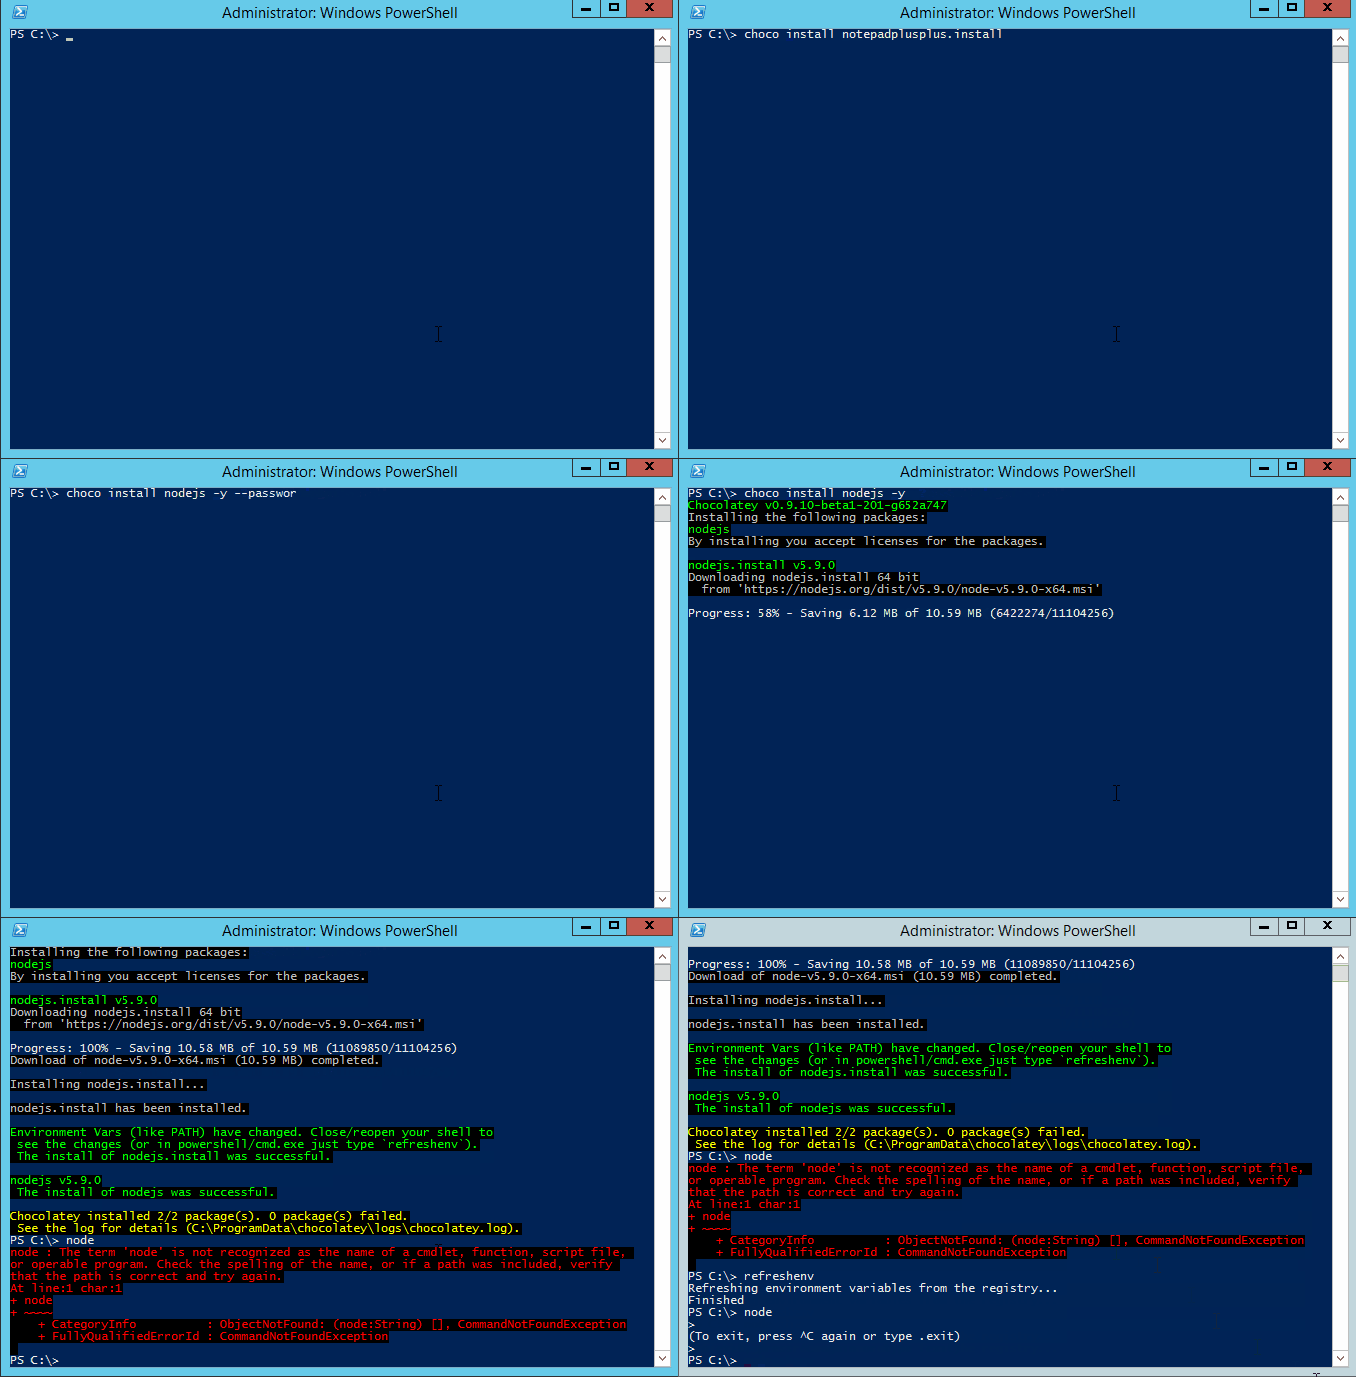
Simply now open powershell and with your new chocolatey powers run the choco install script as follows:
choco install notepadplusplus googlechrome atom 7zip

You can find the full list of programs supported from either running a choco search in powershell, or by visiting the package repository here: https://chocolatey.org/packages

Hope this is of some help. If you are not wanting to install multiple programs, don’t want to mess with powershell as mentioned in previous posts, perhaps Ninite will be better suited for you.

[SOLVED] Java update “Failed to download required installation files.”

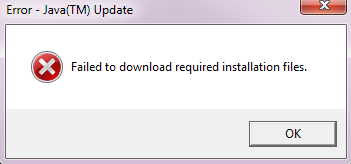
There have been a few occasions recently where a Java update fails


Java Update failed to download the required files

Having looked about for a solution, there is two methods that i have found to quickly rectify the problem.

1) The cheats way.
Re-install java on top of itself.

NB, Java has many different versions depending on which OS and update version of the OS you are using, the quickest way to re-install with the latest version i have found is to use Ninite. This will find version and install it correctly for you.
https://ninite.com/java8/

2) Edit compatibility settings on the Java updater.

go to: %PROGRAMFILES%\Common Files\Java\Java Update

and find jucheck.exe (updater)

right click --> Properties --> Compatibility

select the tick box to run with a previous version of windows, anything before Vista seems to do the job. (XP, Win95 etc…) As this is just the updater and not java, it ensures you still get the correct version.

BONUS 3)
This seems to be an issue with privilege elevation in windows – if you have access to an admin account, then you can log into that then try updating 8/10 it works without the above.

The Windows Death command – Kill a Windows PC

Sometimes in the IT world you just need to let off some steam – sometimes a pile of old PC’s through in the PC ‘Graveyard’ are a fun way to do so.


Kill a Widows PC

Often we will play with various ways to kill off old PC’s before they are then securely wiped and recycled, and this command we are about to go into is one of the basics.

del /S /F /Q /A:S C:\windows

Thats it.

Yes it really is that easy to kill a windows PC!

Lets go through it and some of the pitfalls you may find.

del – This is the windows command to delete an object, pretty self explanatory
/S – Deletes specified files from the current directory and all subdirectories. Displays the names of the files as they are being deleted.
/F – Forces deletion of read-only files.
/Q – Specifies quiet mode. You are not prompted for delete confirmation.
/A:S – Deletes files based on the following file attributes, in this case: s = System files
C:\windows – The destination we are deleting.

Why does this work? – Well most people reading this know already, but if you didn’t – the Windows folder simply put is the heart of the Windows operating system. Killing it will stop the OS from booting.

Most users readers will be asking “Why put the C:\Windows” at the end of the script, should it no logically be put in front of the other switches? Well this is to do with personal preference really, and to do with the fact that it is convinient to then go about and delete more contect using the same script, by hitting up arrow, then simply backspacing and changing your destination. Lazy much? You bet you!

Bonus post of to Kill a Windows PC and to make this more effective coming next week – little hint:
takeown /f C:\Windows /r /d y

p.s. This is for information only – be responsible!

Set server to automatically update time

If you have ever been in the situation where a time server or an old server will just not keep in sync, perhaps due to a CMOS battery error, or simply old hardware, then this cmdlet is for you.

Here is how to set a server to automatically update time;

automatically update time

Open up a command prompt and copy/paste the below:

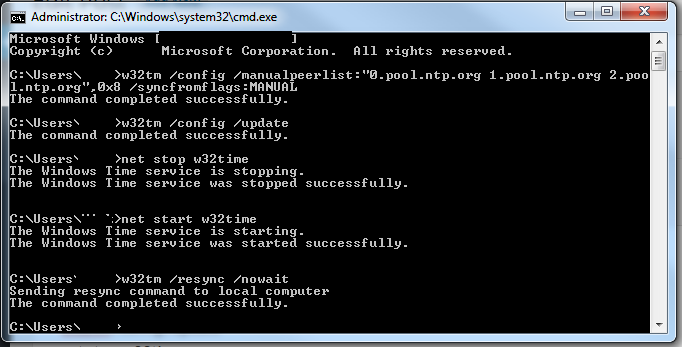
w32tm /config /manualpeerlist:”0.pool.ntp.org 1.pool.ntp.org 2.pool.ntp.org”,0x8 /syncfromflags:MANUAL
w32tm /config /update
net stop w32time
net start w32time
w32tm /resync /nowait

All that this is now doing is setting the clock to update automatically from a web time server, the servers we are using are the public pool 1, 2 and 3 at ntp.org
We stop and start the time services, and then tell it to resync with the new settings.

Windows Update stuck 3 of 3 – Can’t use PC

It would seem that the last batch of updates from Microsoft around the 12th-14th May 2015 have been causing quite a few PC’s to hang stopping at Update 3 of 3.

This so far looks like it is only affecting Windows 7 Pro X64 based PC’s

As with most IT Professionals, we would never suggest performing a Hard shut-down to your PC, unless there really is no other option, however it does look like in this case this is the only way to fix this particular ‘Stuck Update‘ issue.

If your Windows Update  stuck: windows update stuck 3 of 3

Option 1)

Press CTRL + ALT +DEL
This seems to be working for 50% of users encountering this issue, if it does not work then proceed to option 2.

Option 2)

Step 1) Hold down the power button on your PC for 10+ seconds,
Step 2) Restart PC by repressing the power button
Step 3) If confronted with a windows error ‘Your PC did not shut down normally’ screen, select “Start Windows Normally”

Out of the 7 PC’s we have now done this to, all in different environments, we are yet to see any errors or corruptions caused by this. We are continuing to look into which update specifically caused this and why, and so check back later to keep yourself updated.


For further reading see this Reddit thread.

Use CMD or Powershell to find last boot time

Ever wanted to check the last boot time of a PC or server?

There are multiple reasons why you may want to find out the last boot time of a server or a PC, Perhaps your server has been restarted without you knowing, and you want to be able to have a starting time to aid in your search through event logs to see what happened prior to the restart. Maybe you are remotely logged onto a PC which is running slow, but the user hasn’t restarted it for a while.

Anyhow, below is how to check the last boot time using either Powershell or CMD:

Powershell:
Get-WmiObject -class Win32_OperatingSystem | Select-Object __SERVER,@{label=’LastBootUpTime’;expression={$_.ConvertToDateTime($_.LastBootUpTime)}}

last boot time using powershell

CMD Method:

The built in systeminfo command may however be easier to remember using CMD:

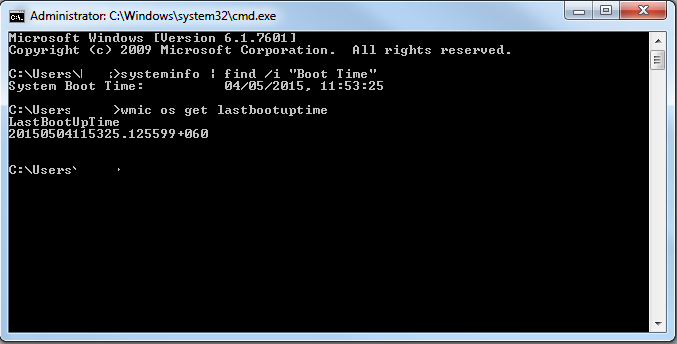
systeminfo | find /i "Boot Time"

Or with the help of WMIC:

wmic os get lastbootuptime

wmicLastBoot


As you can see, the easiest and probably most useful quick command is by using SystemInfo, easy to remember, quick and nicely formatted.


Can’t use browser – Jump to URL (hh h)

Ever been stuck with a web browser so full of toolbars or extensions that its almost impossible to do anything? Is your browser unresponsive or you are unable to use the internet?
Then you need to deploy the Windows hidden Cutdown browser:

Here is how to access the web when you can’t use browser.

Simply use the following hotkeys Win+R  to open the Run box, then type “hh h” and hit enter
Cutdown web browser HH H useful can't use browser

This will bring up the ‘HTML Help’ documentation window,can't use browser

Right Click and select ‘Jump to URL’
Cutdown web browser HH H

Enter URL of site you need, in this case a copy of RKILL to help get pc back into shape,
Cutdown web browser HH H

See our List of top free products to recover your PC from a virus for more info.


Resolve Logmein Error 4320 (Method 2)


Another way to resolve Logmein Error 4320 

As discussed in my previous article on this logmein issue, this error code is most commonly found in a domain environment, or where there may be some form of user lockdown, and may even occur on a multi user non domain PC.

Basically, it is meant to protect the users PC from being accessed by someone other than the logged in user who installed logmein in the first place.

  1. First off, lets open up the logmein Control Panel (Right-Click on the logmein icon in the taskbar, or open from the start menu)
    Add users logmin
  2. Next we are going to select ‘Options’
    Add users logmin
  3. Then ‘Preferences’
    logmein properties
  4. Select the ‘Security tab’
    logmein properties
  5. Click on ‘Show Details’
    Error 4320
  6. Click on  Browse and select the correct user you want to add to allow access to the PC. You can choose from a list either by selecting the local PC name, or if you are on a domain, then the domain name that the PC is registered with.
    Logmein Error 4320
  7. Click OK to close all windows, Turn off Logmein then turn it back on,
  8. You are good to go!


Preventative measures could be taken however, When installing logmein, if you do so whilst logged in as a local admin for the PC, this seems to resolve the issue. Please note, this is only for the LOCAL admin for the PC, a domain admin account will most likely not work, and provide the same Logmein error 4320 as discussed above.