To enable remote desktop.
• Open registry editor by running regedit from Run.
• Go to the node HKEY_LOCAL_MACHINE\SYSTEM\CurrentControlSet\Control\Terminal Server
• Change the data of the value fDenyTSConnections to 0.
We can enable remote desktop from windows command line by running the following command.
reg add “HKEY_LOCAL_MACHINE\SYSTEM\CurrentControlSet\Control\Terminal Server” /v fDenyTSConnections /t REG_DWORD /d 0 /f
To disable remote desktop we need to run the below command.
reg add “HKEY_LOCAL_MACHINE\SYSTEM\CurrentControlSet\Control\Terminal Server” /v fDenyTSConnections /t REG_DWORD /d 1 /f
Reboot or logoff is not required after running the above command. I have tested this on Windows XP and Windows 7 and it has worked fine. It would work fine on Windows Vista too.
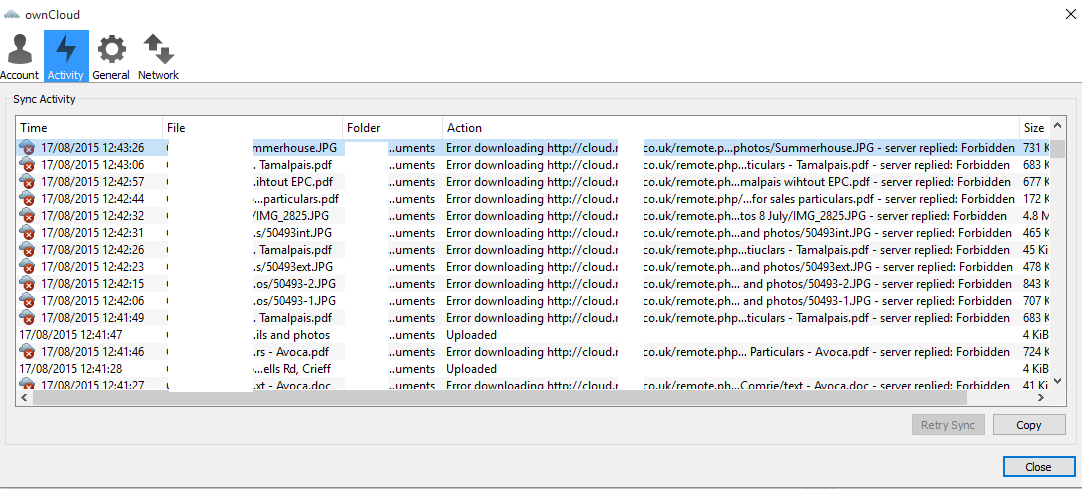
ownCloud server replied: Forbidden (ownCloud Forbidden)
I recently installed the latest version of ownCloud. A self hosted cloud platform for syncing all your favourite documents and files you may need to access from elsewhere.
The install was easy enough – See other post – however i did then encounter a few issues when using the Windows sync software,
Here is what i had to do to fix a: “ownCoud server replied: Forbidden” ownCloud Forbidden error.
(Well hopefully it works for you also! )
I had to do 2 things in order to get this installed:
The first error i got was;
“download of ownCloud source file failed.
SSL certificate problem: self signed certificate in certificate chainSSL certificate problem: self signed certificate in certificate chain”
The solution i found here was to add the below into my installer.php :
curl_setopt($ch, CURLOPT_CERTINFO, FALSE);
curl_setopt($ch, CURLOPT_SSL_VERIFYPEER, FALSE);
This allowed me to start the install, and then supply it with my DB creds and table to get started.
The second error, was only once i had set up my default file structure using the web interface and finally installed the desktop based client was the aforementioned ownCloud Forbidden error.
The solution? After endless hours of scrolling through countless Forums and the full ownCloud documentation;
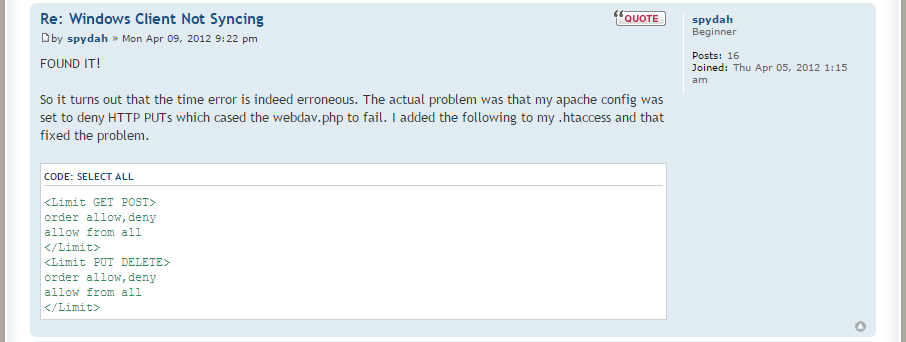
In plain text, to show spydah’s fix to an ownCloud Forbidden error:
Simply add the following to your .htaccess file:
<Limit GET POST>
order allow,deny
allow from all
</Limit>
<Limit PUT DELETE>
order allow,deny
allow from all
</Limit>
Done. Sorted. finally!
Find PC model and serial from CMD
Ever been in the situation where you need to find PC model and serial, but just don’t have access to the bottom of the PC to check.
Perhaps you need the model but the sticker has been removed, or marked on the bottom. Well, there’s a alternate way to find the computer’s serial number without you having to go under the desk:
Here is how to find the PC model and Serial from CMD
Open the command prompt (Start – > CMD) and type the following command:
wmic bios get serialnumber
Another command that will also print the model number (or make) of your computer is:
wmic csproduct get name, identifyingnumber
The system model number can also be found using the System Information program available under All Programs – > Accessories – > System Tools.
And there you have it, how to find your PC model and Serial from CMD
Turing Phone will work in all countries & announcement of the Black Dragon model
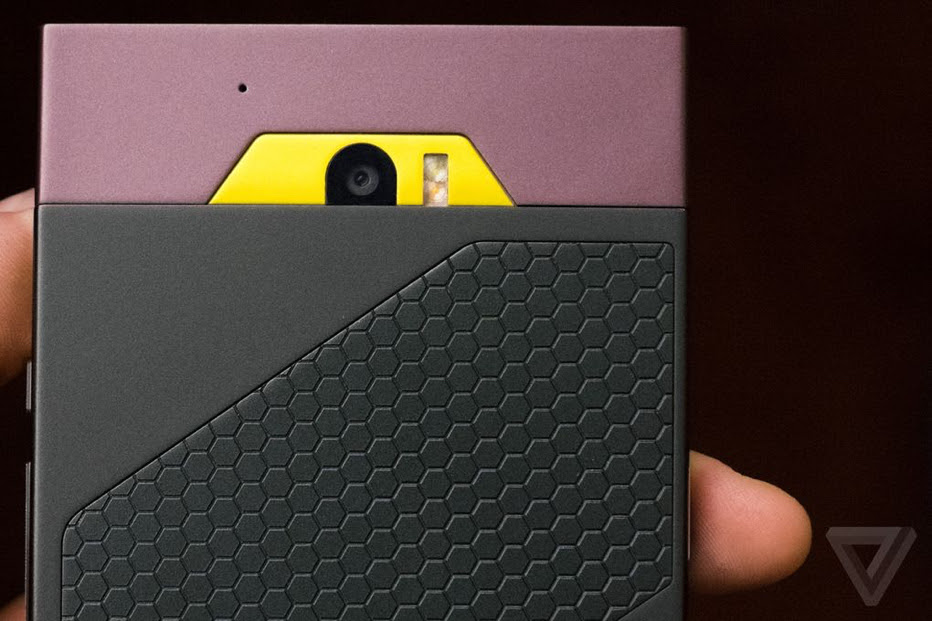
Following our updates with the latest batch of emails leading up to the Turing phone release, and with one day to go, we have been provided with yet another added feature to this already jam packed ultra-phone. In the latest email we were told that the phone will support all major frequency bands used by international carriers, including; GSM, WCDMA, TD-SCDMA, CDMA EVDO, TDD LTE, FDD LTE.
We were also given information, that a Fourth model the ‘Black Dragon’ model of the Turing phone will also be coming soon, exclusively with 128GB, and a “style and aesthetic is unlike any phone on the market”
Pre-orders open up tomorrow, but with the US and Canada getting first dibs, I have no idea on when i will finally get my hands on what promises to be a game changing phone for 2015.
|
![]()
Turing phone model names revealed: Introducing Pharaoh, Beowulf and Cardinal.
We for One Cannot wait for the pre-orders to open up, but which Turing Phone will we choose? Pharoh, Beowulf or Cardinal? Turing phone model names revealed.
If you have been following the recent Turing Robotic industries ‘Turing Phone updates, you may have received the below email:
|
![]()
New Email out from Turing Phone
New Email out from Turing Phone
|
|||||||
|
Run elevated command prompt (CMD)
The quickest way to run an elevated command prompt from windows xp all the way through to Windows 10, is to simply right click and ‘Run as Administrator’ from the start menu, see below
Click on the start menu, or press the WIN key, then simply type (win vista+) CMD
Right click on cmd.exe and select, run as administrator 
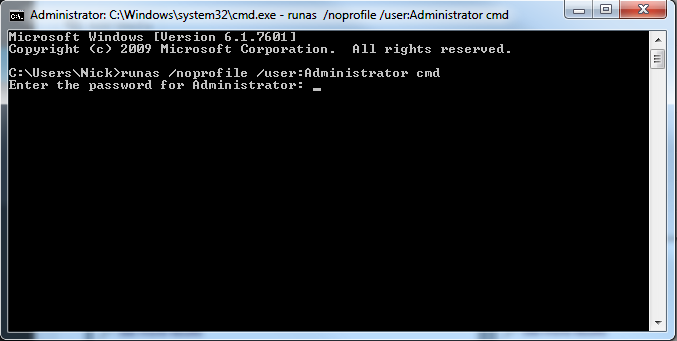
If that does not for some reason work, or you cannot get into your start menu, try pressing WIN + R and typing CMD, then enter:
runas /noprofile /user:Administrator cmd
Create new user via cmd
How to create new user via cmd (command Prompt)

Below are the quick steps to take if you are in the situation where you need to create a new pc user from command line. The example below is for creating a user named nick, with admin privileges.
Open up an elevated command prompt:
Type the below, exchanging *nick* ad *password* with your own username and password.
net user /add *NICK* *password*
To give this user admin privileges;
net localgroup administrators *NICK* /add
Enable or Disable user account from command line (CMD)
Enable or Disable user account from command line (CMD)
Net user Nick /active:no
To re-enable the account :
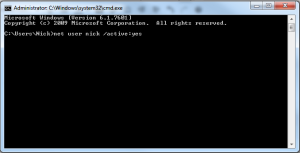
Net user Nick /active:yes
Getting the path of AppData using PowerShell
Getting the path of %AppData% using PowerShell + $env: usage
There are 2 ways to find the folder location of AppData on a PC, and to check appdata path.
The first method uses the simple $env: command. This command has long been used by C# users to make multi platform software, in the case where your AppData or any other environmental variable may be living somewhere other than the normal factory set location.
Simply open up powershell and type:
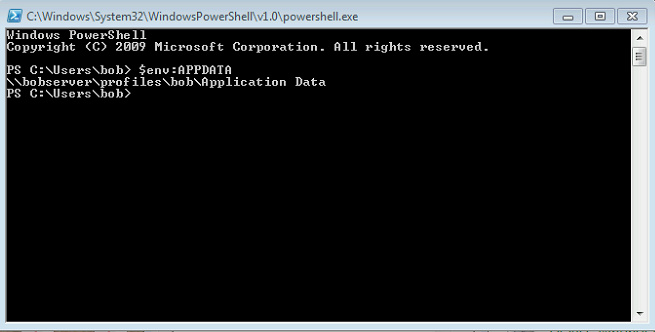
$env:APPDATA
Method 2 is basically doing the exact same as above, but this time using a call and answer approach:
Get-Childitem env:APPDATA | %{ $_.Value }
Below are some extra $env: variables that you may find useful;
Name                           Value
----                           -----
TEMP                           C:\DOCUME~1\bob\LOCALS~1\Temp
SESSIONNAME                    Console
PATHEXT                        .COM;.EXE;.BAT;.CMD;.VBS;.VBE;.JS;.JSE;.WSF;.WSH;.PS1;.PSC1
USERDOMAIN                     WINGROUP
PROCESSOR_ARCHITECTURE         x64
SystemDrive                    C:
APPDATA                        C:\Users\bob\Application Data
windir                         C:\WINDOWS
USERPROFILE                    C:\Users\bob
